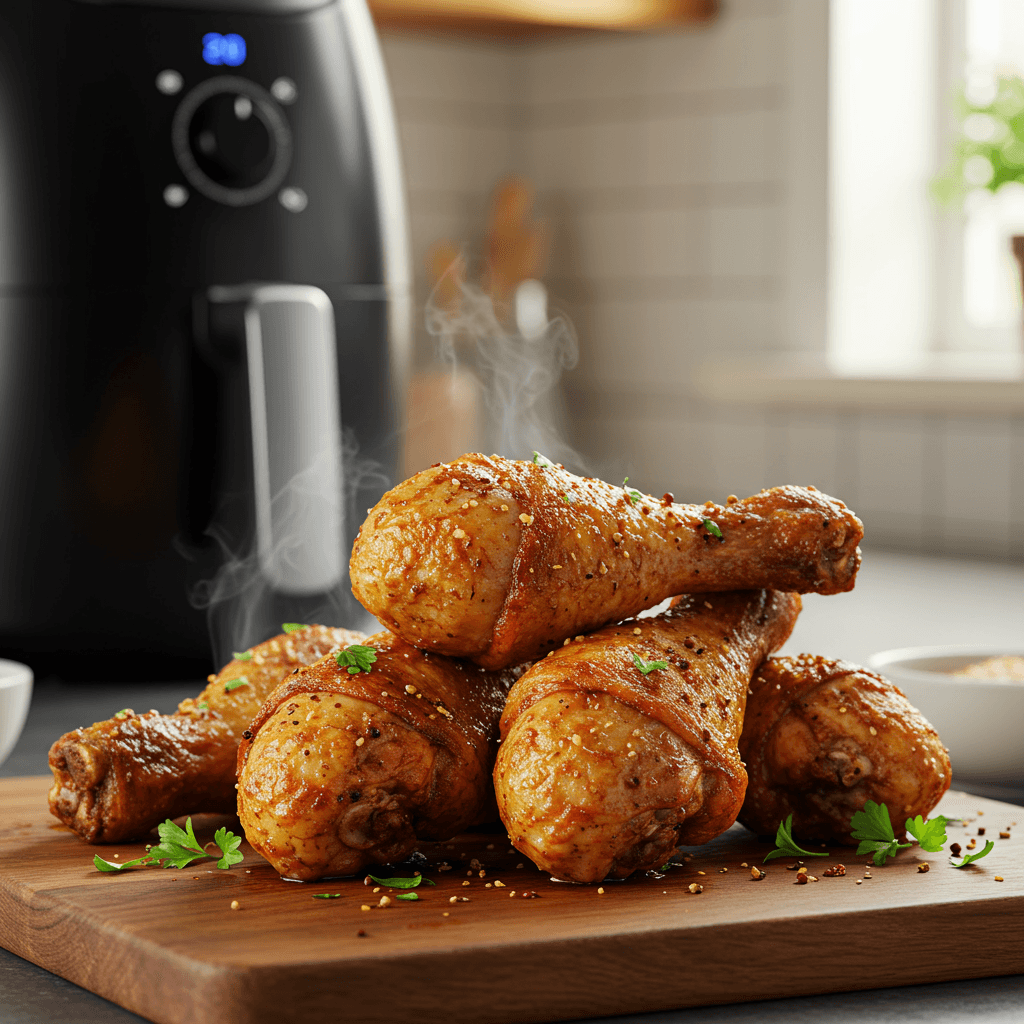
Crispy-Skinned Air Fryer Chicken Drumsticks: Your Ultimate Guide
Dreaming of perfectly crispy chicken skin without the greasy mess of deep frying? The air fryer makes this dream a delicious reality! Get ready to unlock the secrets to succulent, flavorful chicken drumsticks with skin so crisp it'll make your taste buds sing. This ultimate guide will walk you through every step, ensuring weeknight dinner success.

The Allure of Air Fryer Chicken:
Unmatched Crispiness, Minimal Effort
Forget splattering oil and heavy cleanup. The air fryer utilizes powerful convection heat, circulating hot air around your food to create that coveted crunchy exterior, mimicking the results of deep-frying with surprising ease. It's a game-changer for achieving that satisfying crunch with minimal fuss.
Healthier Than Deep Frying, Same Delicious Results
One of the biggest advantages? You use significantly less oil, making air-fried chicken a much healthier alternative to its deep-fried cousin. Don't worry, though – less oil doesn't mean less flavor. Your air fryer drumsticks will boast all the savory goodness and tender juiciness you crave, without the added guilt.
Why Air Fryer Chicken Drumsticks Are a Weeknight Winner:

Quick Cooking Time
Air fryers cook remarkably fast! Chicken drumsticks, usually a longer-cooking cut, become a speedy weeknight option, going from fridge to plate in under 30 minutes. This efficiency is a lifesaver on busy evenings when you need a satisfying meal without a long wait.
Easy Cleanup
With minimal oil involved, cleanup is a breeze. Most air fryer baskets are non-stick and dishwasher-safe, meaning you spend less time scrubbing and more time enjoying your meal. Say goodbye to greasy stovetops and splattered counters!
Perfectly Cooked Every Time
The consistent, circulating heat of an air fryer ensures that your chicken cooks evenly. You'll achieve beautifully moist and tender meat on the inside, perfectly complemented by that golden, crispy skin on the outside, every single time.
Sourcing the Stars: Choosing Your Ingredients:
Selecting Premium Chicken Drumsticks
Start with fresh, plump, bone-in, skin-on chicken drumsticks. Look for ones with intact skin, as this is key to achieving that ultimate crisp. Freshness makes a noticeable difference in flavor and texture.
Essential Spices: Paprika, Garlic Powder, and More
A simple yet powerful spice blend is all you need. We recommend a mix of:
- 1 teaspoon salt
- 1/2 teaspoon black pepper
- 1 teaspoon paprika (smoked paprika adds a wonderful depth)
- 1 teaspoon garlic powder
- 1/2 teaspoon onion powder
- A pinch of cayenne pepper (optional, for a little heat)

Ingredient Quantities and Substitutions
For 4-6 drumsticks (approximately 1.5 - 2 lbs), the above spice blend is a great starting point. Feel free to adjust quantities to your taste. For substitutions, consider dried herbs like thyme or oregano, or experiment with your favorite pre-made chicken rub. Just ensure your rub doesn't contain too much sugar, as it can burn in the air fryer.
Unlocking the Secret to Perfectly Crispy Skin:
The Pat-Down Method: Drying for Ultimate Crisp
This is perhaps the step for crispy skin. Moisture is the enemy of crispiness! Thoroughly pat your chicken drumsticks dry with paper towels. Get into every crevice, under the skin if possible. The drier the skin, the crisper it will become.
Seasoning Techniques for Maximum Flavor

Once dry, lightly coat the drumsticks with a very thin layer of olive oil or avocado oil. This helps the seasoning stick and further aids in crisping. Then, generously sprinkle your spice mix over all surfaces of the chicken, rubbing it in gently to ensure even distribution. Don't forget the underside!
Air Fryer Mastery: A Step-by-Step Guide:
Prepping the Drumsticks: Seasoning and Arrangement
After drying and seasoning, arrange your drumsticks in a single layer in your air fryer basket. Ensure there's enough space around each piece for air to circulate. Do not overcrowd; cook in batches if necessary.
Air Fryer Settings: Temperature and Time Precision
Preheat your air fryer to 380°F (195°C) for 5 minutes. Place the drumsticks in the basket and cook for an initial 12-15 minutes.
Flipping for Even Cooking: The Importance of Mid-Cook Rotation
After the initial cooking time, flip each drumstick over using tongs. This ensures all sides get exposed to the hot air, leading to even browning and crispiness. Continue cooking for another 10-15 minutes, or until the chicken reaches the desired internal temperature.
Checking for Doneness: The Ultimate Test

The safest and most accurate way to check for doneness is with an instant-read meat thermometer. Insert it into the thickest part of the drumstick, avoiding the bone. Chicken is safely cooked when it reaches an internal temperature of 165°F (74°C). The juices should also run clear, and the skin should be golden brown and visibly crispy.
Pro Tips for Air Fryer Chicken Perfection:
Avoiding Overcrowding the Basket
Resist the urge to pack too many drumsticks into the basket. Overcrowding blocks airflow, leading to steaming instead of crisping. Cook in batches for optimal results.
Achieving the Ideal Golden-Brown Hue
If your chicken isn't as golden or crispy as you'd like in the last few minutes, you can increase the temperature to 400°F (200°C) for 2-3 minutes, watching closely to prevent burning.
Using an Air Fryer-Safe Thermometer
An instant-read meat thermometer is your best friend for food safety and preventing dry, overcooked chicken. It ensures you hit that perfect 165°F every time.
Beyond the Bite: Creative Serving Suggestions:

Delicious Dipping Sauces
Elevate your drumsticks with a side of your favorite dipping sauce: classic BBQ, tangy honey mustard, creamy ranch, spicy sriracha mayo, or a homemade garlic aioli.
Complementary Sides for a Balanced Meal
Pair your crispy chicken with simple, satisfying sides. Roasted vegetables (broccoli, asparagus, sweet potato fries), a fresh garden salad, creamy mashed potatoes, or fluffy rice pilaf all make excellent companions.
Common Pitfalls to Avoid:
Overloading the Air Fryer Basket
As mentioned, this is a surefire way to end up with soggy, unevenly cooked chicken. Patience and cooking in batches will always yield superior results.
Under-Seasoning Your Chicken
Bland chicken is a missed opportunity! Don't be shy with your spices. Seasoning generously ensures every bite is packed with flavor.
Incorrect Cooking Times/Temperatures
Undercooked chicken is a health risk, while overcooked chicken is dry and unappetizing. Always rely on an internal thermometer and adjust times slightly based on your specific air fryer model and drumstick size.
Your Crispy Chicken Takeaway: A Summary of Key Learnings
Mastering air fryer chicken drumsticks is all about a few key principles: start with , season , your basket, and for perfect doneness. Follow these steps, and you'll be enjoying incredibly crispy, juicy chicken in no time!
Frequently Asked Questions:
Q: Can I use frozen chicken drumsticks?
A: While fresh is best for crispiness, you cook frozen drumsticks in the air fryer. However, they will take longer (add about 10-15 minutes to the total cooking time), and the skin might not get quite as crispy. For optimal results, it's always recommended to thaw them completely first.
Q: How do I store leftover chicken?
A: Store cooked drumsticks in an airtight container in the refrigerator for up to 3-4 days. To reheat, place them back in the air fryer at 350°F (175°C) for 5-7 minutes, which helps to regain some of that delicious crispiness.
Q: What other spices can I use?
A: Absolutely! The beauty of cooking is experimentation. Feel free to use smoked paprika, chili powder, cumin, dried thyme, rosemary, or a pre-made Cajun, Lemon Pepper, or Italian seasoning blend. The possibilities are endless – find what you love!
Q: Can I cook other meats in the air fryer using this method?
A: Yes, the core principles of drying, seasoning, and not overcrowding apply to many other meats. This method works wonderfully for chicken thighs, wings, or even pork chops. Just be sure to adjust cooking times and temperatures based on the specific cut and thickness, and always check the internal temperature for safe consumption.