The Guide to Foolproof, Fall-Off-the-Bone Ribs in the Oven
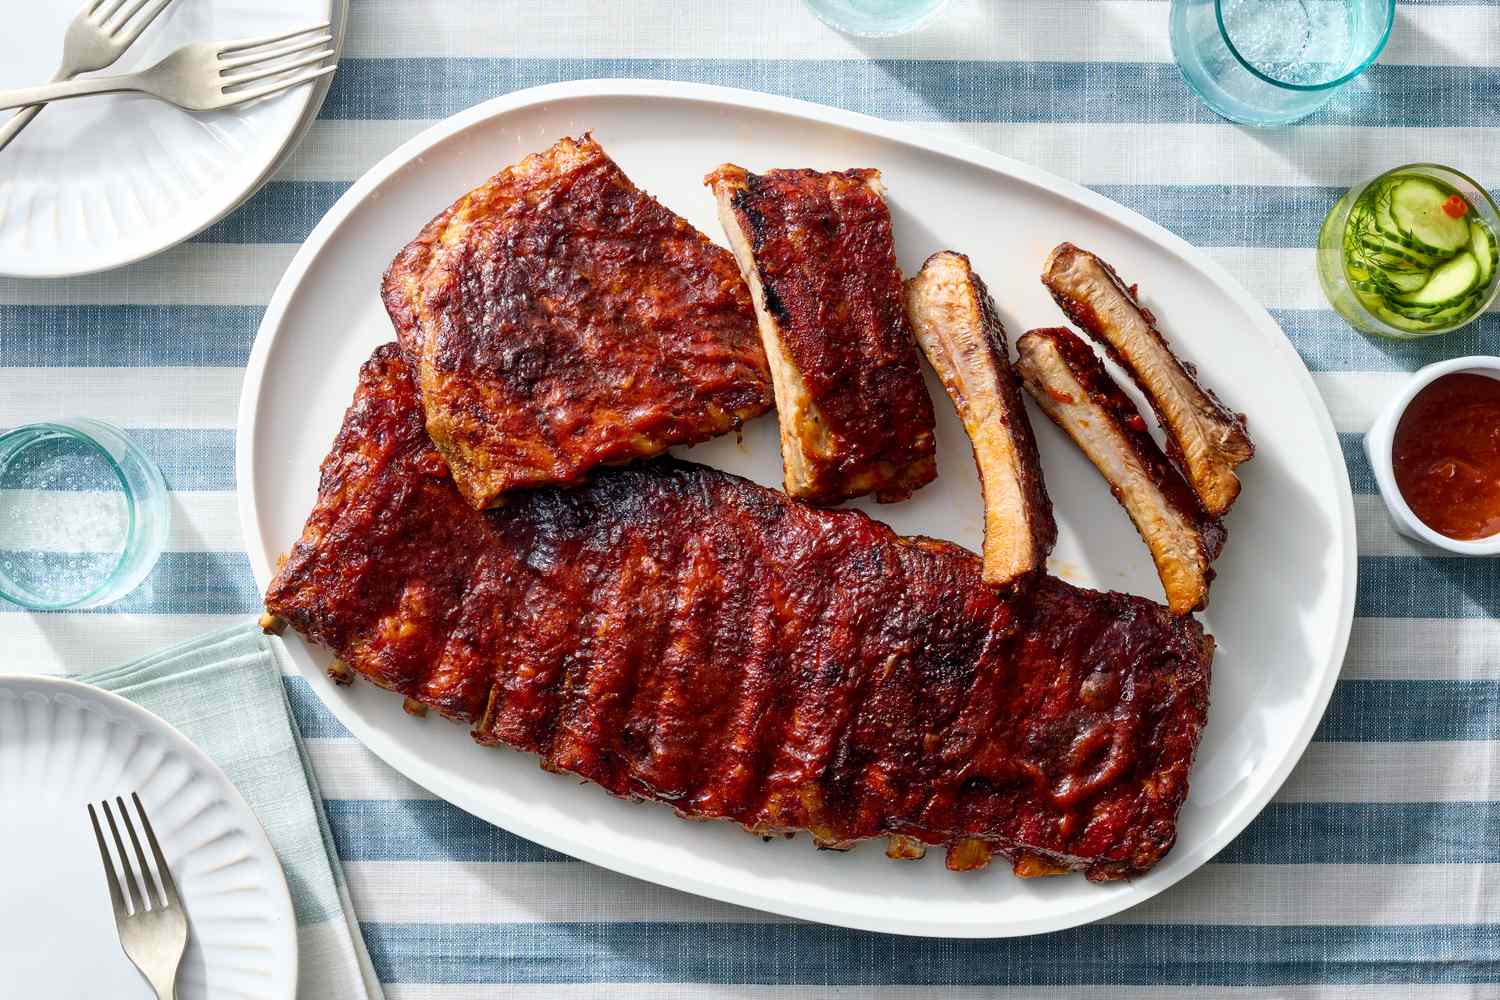
There are few culinary experiences as universally loved as a rack of perfectly cooked ribs. Imagine a sticky, caramelized glaze that gives way to impossibly tender meat, so succulent it practically melts off the bone. The rich, savory aroma fills the kitchen, promising a meal that is pure comfort and satisfaction. For many, this is a luxury reserved for a favorite BBQ joint, but creating this masterpiece at home is not only possible, it’s surprisingly straightforward.
This guide will walk you through the "low-and-slow" oven method, the undisputed secret to achieving flawless ribs without a grill or smoker. By following these detailed steps, you can demystify the process and unlock the ability to produce fall-off-the-bone ribs every single time. Get ready to make the best ribs of your life, right in your own kitchen.
Why Make This Delicious Recipe & When to Serve It
The true beauty of making ribs in the oven is its reliability. Using the foil-wrapping technique provides consistent, gentle heat that masterfully breaks down the tough connective tissues in the pork, which is the key to that signature tenderness. This method removes the guesswork and common pitfalls of grilling, making it a foolproof approach for cooks of any skill level.
These ribs are a showstopper for any gathering. They are the perfect centerpiece for a summer barbecue, a cozy family dinner on a chilly weekend, or the star of your game day spread. Because most of the cooking time is completely hands-off, you’re free to enjoy your company while the oven does all the hard work.
Ultimately, this recipe empowers you to create restaurant-quality results at home. It’s a rewarding culinary project that delivers an enormous payoff in flavor, texture, and the pure joy of serving something truly spectacular to friends and family.

Basic Ingredients (Serves 4-6)
- 2 racks of baby back pork ribs (about 4-5 pounds total): Baby back ribs are leaner and naturally more tender than other cuts, making them an ideal choice for this oven method and a great starting point for achieving succulent results.
- ¼ cup Dijon or yellow mustard: This acts as a "binder," a tacky layer that helps the dry rub adhere evenly to the entire surface of the ribs, ensuring a consistent and flavorful crust. The distinct mustard flavor cooks off completely, leaving only its functional benefits.
- ¼ cup dark brown sugar, packed: This is the cornerstone of the rub's crust-forming magic. It provides a deep, molasses-like sweetness and caramelizes beautifully under heat to create that irresistible, slightly crunchy bark on the exterior of the ribs.
- 2 tablespoons smoked paprika: This is a crucial ingredient for mimicking a smoky flavor without a smoker and is essential for achieving the classic barbecue taste. It also lends the ribs a gorgeous, deep mahogany color that is visually stunning.
- 1 tablespoon coarse salt (kosher or sea salt): Salt is fundamental for enhancing the natural flavor of the pork. It also helps in the brining process on the meat's surface, which contributes to a more moist and seasoned final product.
- 1 tablespoon black pepper, freshly ground: This provides a pungent, earthy heat that masterfully balances the sweetness of the brown sugar and the richness of the pork, adding a classic and indispensable layer to the BBQ flavor foundation.
- 2 teaspoons garlic powder & 2 teaspoons onion powder: These form the aromatic backbone of the rub, providing a deep, savory flavor that permeates the meat. Using powders prevents the risk of burning fresh aromatics during the long, slow bake.
- 1 teaspoon chili powder: This ingredient adds a mild, complex warmth and depth to the rub. Its role is less about intense heat and more about contributing to the overall classic, well-rounded barbecue flavor profile that is expected in great ribs.
- 1 cup of your favorite BBQ sauce: This is the finishing touch, applied only at the end of cooking to create the sticky, glossy glaze everyone loves. Your choice of sauce—whether sweet, smoky, or spicy—is the final step in personalizing the flavor.

Step-by-Step Preparation
- Preheat and Prepare Your Workstation: Preheat your oven to 300°F (150°C) and line a large, rimmed baking sheet with a generous layer of heavy-duty aluminum foil to make cleanup effortless later. This simple preparation step ensures your oven is at a stable temperature and sets you up for success.
- The Essential First Step: Remove the Membrane. Place the racks of ribs with the bone-side facing up. Gently slide a butter knife or the handle of a spoon under the thin, silvery membrane at one end to loosen it. Using a paper towel to get a firm grip, pull the membrane completely off the back of the ribs; it should come off in one clean piece.
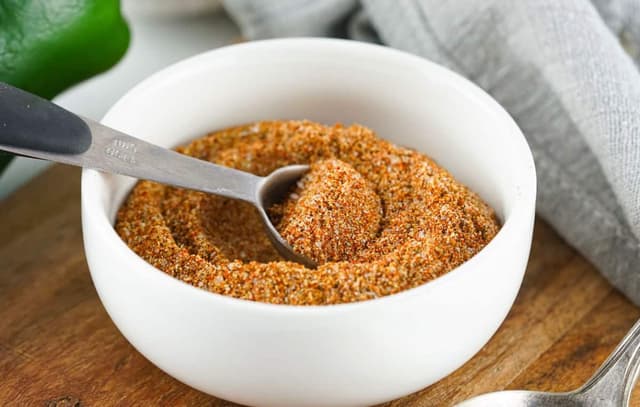
- Build the Flavor Foundation: The Rub. In a small bowl, thoroughly combine the dark brown sugar, smoked paprika, coarse salt, black pepper, garlic powder, onion powder, and chili powder. Pat the ribs completely dry with paper towels, then slather both sides with the ¼ cup of mustard. Generously coat the ribs on all sides with your prepared spice mixture, pressing it into the meat to ensure it adheres well.
- The Low-and-Slow Journey: The Foil-Wrapped Bake. Place the seasoned ribs meat-side up on your prepared baking sheet. Cover the entire baking sheet tightly with another sheet of heavy-duty aluminum foil, crimping the edges to create a perfectly sealed packet. This crucial step traps steam, effectively braising the ribs to make them incredibly tender and juicy. Bake for 2 to 2.5 hours.
- The Grand Finale: Saucing and Broiling for a Perfect Glaze. Carefully remove the baking sheet from the oven and discard the top layer of foil, being mindful of the hot steam that will escape. Generously brush the meaty side of the ribs with about ½ cup of your favorite BBQ sauce. Switch the oven setting to a high broil and place the ribs 4-6 inches from the heating element. Broil for 3-5 minutes, watching them like a hawk until the sauce is bubbly, sticky, and beautifully caramelized.
- The Final, Crucial Pause: Rest for Maximum Juiciness. Remove the ribs from the oven and transfer them to a cutting board to rest for at least 10 minutes before slicing. This essential pause allows the juices, which have migrated to the surface during cooking, to redistribute throughout the meat. This step is the secret to ensuring every single bite is moist and flavorful.

Tips for the Perfect Recipe
- Mastering Doneness - The Bend Test. Instead of just watching the clock, check for perfect tenderness by using a pair of tongs to lift one end of the rack. The rack should bend easily and significantly in the middle, and you should see the surface of the meat begin to crack. If the rack remains stiff, it needs more time in the oven.
- Mastering Doneness - The Temperature Target. For the most scientifically accurate results, an instant-read thermometer is your best tool. The ideal internal temperature for fall-off-the-bone tender ribs is between 195°F and 203°F (90°C-95°C). At this temperature, the tough collagen has fully rendered into rich gelatin, creating a succulent and moist texture.
- Achieving Smoky Flavor Without a Smoker. To deepen the flavor profile, you can add 1 teaspoon of liquid smoke to your mustard binder before slathering it on the ribs. Also, ensure you are using high-quality smoked paprika rather than sweet paprika in your rub for a subtle, authentic smoky undertone that makes a noticeable difference.
- Give Your Rub Time to Work. For an even deeper and more complex flavor, you can apply the mustard binder and spice rub up to 24 hours in advance. Wrap the seasoned ribs tightly in plastic wrap and refrigerate. This process acts as a dry brine, allowing the salt and spices to penetrate the meat more thoroughly.
- Don't Drown in Sauce. Remember that the BBQ sauce is a finishing glaze, not a cooking liquid. Applying it only during the final broiling step is key. This technique prevents the high sugar content in the sauce from burning during the long bake and allows the carefully crafted flavors of your spice rub to shine through.

Serving Ideas
- Classic Comfort Pairings. You can never go wrong with the timeless sides that are perfect for soaking up every last bit of delicious sauce. Consider a creamy Southern-style macaroni and cheese, a basket of warm and fluffy cornbread muffins, or a hearty, classic potato salad.
- Fresh & Tangy Counterpoints. To balance the rich, savory flavor of the pork, it's a great idea to serve something bright and acidic. A crisp, creamy coleslaw, a quick-pickled cucumber and red onion salad, or a simple green salad tossed in a sharp vinaigrette are all excellent choices to cleanse the palate.
- Grilled and Roasted Vegetables. To complement the barbecue theme, classic grilled corn on the cob is a fantastic addition, especially when prepared Mexican Elote-style with cotija cheese, lime, and chili powder. Other wonderful options include simply roasted asparagus with lemon or a colorful summer succotash with corn and lima beans.
- Creative Companions. If you want to venture beyond the classics, try a crowd-pleasing bacon ranch pasta salad, a pot of smoky Southern-style baked beans, or even a platter of crispy fried okra to complete your spectacular feast.

Tips for Storing and Reheating
Storing Leftovers
- Refrigeration: For short-term storage of up to four days, wrap any leftover ribs tightly in heavy-duty aluminum foil or place them in an airtight container. This is crucial to prevent them from drying out and absorbing other odors from within the refrigerator.
- Freezing for Longevity: For longer-term storage, a vacuum sealer is the best possible tool, as it removes all air and prevents freezer burn, preserving the ribs' texture and flavor for months. If you don't have one, wrap the ribs tightly first in plastic wrap, then in a layer of foil, and finally place them in a freezer-safe zip-top bag for the best protection.
Reheating Tips
- The Best Method - The Oven: The ideal way to reheat ribs is low and slow in the oven to preserve moisture. Preheat your oven to a low temperature, around 250°F (120°C), place the ribs in a baking dish, add a splash of apple juice or broth to create steam, and cover the dish tightly with foil. Heat for 20-30 minutes, or until they are warmed through completely.
- Avoid the Microwave (If Possible): Using a microwave can often lead to uneven reheating and can make the meat tough and rubbery. If you must use one, do so on a lower power setting (like 50%) in short intervals. Covering the ribs with a damp paper towel can also help retain some moisture during the process.
Conclusion
With this foolproof oven method, incredible, fall-off-the-bone ribs are no longer a dish you can only enjoy at a restaurant. This recipe proves that with a little patience and the right technique, you can easily create a truly memorable meal at home. We encourage you to fire up your oven, embrace the process, and get ready to enjoy some of the best ribs you've ever had.
Frequently Asked Questions
Q: Why did my oven-baked ribs turn out tough?
A: Tough ribs are almost always a sign of being undercooked. While pork is technically safe to eat at 145°F, the tough connective tissue only breaks down into tender gelatin when the meat’s internal temperature reaches 195-203°F, so they simply need more time in the oven.
Q: Is it possible to overcook ribs in the oven?
A: Absolutely. If cooked for too long, ribs can move past tender and become dry and mushy. The goal is meat that pulls easily from the bone with a gentle tug but doesn't fall apart on its own. This is why checking for doneness with the bend test or a thermometer is so important.
Q: Is removing the membrane from the back of the ribs really necessary?
A: Yes, this is a non-negotiable step for achieving truly tender ribs. The membrane does not render during cooking and remains tough and rubbery. Removing it also allows your spice rub to penetrate the meat from all sides, resulting in much more flavorful ribs.
Q: What's the difference between "safe" and "done" for ribs?
A: Pork is considered safe to eat at an internal temperature of 145°F. However, at this temperature, ribs will still be tough. For ribs to be truly "done" and succulent, they need to reach a much higher temperature of 195-203°F, which allows the collagen to fully render into gelatin.