A Foolproof Recipe for Creamy Perfection
There's a special kind of magic in a no-bake cheesecake. Its impossibly creamy, cool texture and tangy-sweet flavor evoke a sense of pure nostalgia, bringing back memories of family potlucks, summer celebrations, and that one dessert everyone could agree on. It's the ultimate crowd-pleaser, a slice of pure comfort.
What makes this dessert a modern-day hero is its beautiful simplicity. You can achieve that luxurious, decadent result without ever turning on your oven. There's no need to fuss with a water bath, worry about a cracked top, or have any special baking skills. This is your secret weapon for a stunning, stress-free dessert.
Why Make This Delicious Recipe & When to Serve It
The most obvious appeal is the "no-oven" advantage. This makes it the perfect dessert for scorching summer days when the last thing you want is extra heat in your kitchen. It's also a lifesaver during big holiday feasts like Thanksgiving, when your oven is already working overtime.
Despite being incredibly easy to whip up, this cheesecake looks and tastes like a masterpiece from a fine bakery. It’s a high-reward, low-effort recipe that delivers a show-stopping result every time, making it a fantastic confidence-booster for cooks of all skill levels.
This versatile treat fits seamlessly into any occasion. It’s a star at holiday dinners, a welcome addition to summer potlucks and BBQs, and a comforting delight for a cozy weekend at home. Because it needs to be made ahead, it’s the perfect party dessert, freeing you up on the day of your event.

Essential Ingredients
For the Graham Cracker Crust:
- 1 ½ cups (150g) Graham Cracker Crumbs: This is the classic, nutty, and slightly sweet foundation of our cheesecake. Using pre-crushed crumbs saves time, but you can easily make your own in a food processor or with a rolling pin and a zip-top bag.
- ⅓ cup (75g) Granulated Sugar: This not only adds a touch of sweetness to the crust but, more importantly, helps the butter bind the crumbs together into a firm, sliceable base once chilled.
- 6 tbsp (85g) Unsalted Butter, melted: This is the essential glue that holds our crust together. Using melted butter ensures every crumb is evenly coated, creating a "wet sand" texture that compacts beautifully and won't crumble when you serve.
For the Creamy Cheesecake Filling:
- 16 oz (450g) Full-Fat, Block-Style Cream Cheese, at room temperature: This is the non-negotiable heart of the cheesecake. Full-fat block cheese provides the essential fat content and structure for a firm set; do not use whipped, tub-style, or low-fat versions as they will result in a runny filling.
- 1 cup (120g) Powdered Sugar: We use powdered sugar (also known as confectioners' sugar) because it dissolves instantly, guaranteeing a perfectly silky, non-grainy texture. It also contains cornstarch, which aids in stabilizing and firming the filling.
- ¼ cup (60ml) Sour Cream, full-fat: Sour cream adds a critical layer of tangy, complex flavor that balances the richness of the cream cheese, mimicking the taste of a classic baked cheesecake. It also contributes to the smooth, creamy consistency.
- 1 tbsp Fresh Lemon Juice: This is a secret weapon for both flavor and science. The acidity brightens the overall taste, cutting through the richness, and chemically reacts with the dairy to help thicken and stabilize the filling, ensuring a perfect set.
- 1 tsp Vanilla Extract: A dash of pure vanilla extract enhances all the other flavors in the filling, adding warmth and depth to the final dessert. It's the background note that makes everything taste more complete.
- 1 ½ cups (360ml) Heavy Whipping Cream, very cold: This is the key to our cheesecake's light-yet-rich texture. Whipped to stiff peaks, it incorporates air and provides the structure that allows the cheesecake to set firmly without gelatin or eggs.

A Meticulous Step-by-Step Guide
- Prepare the Crust Foundation. In a medium bowl, combine the 1 ½ cups of graham cracker crumbs and ⅓ cup of granulated sugar. Pour in the 6 tbsp of melted unsalted butter and stir with a fork until the mixture is thoroughly moistened and resembles wet sand. This texture is key for a crust that holds together perfectly.
- Form and Chill the Crust. Press the crumb mixture firmly and evenly into the bottom and up the sides of a 9-inch springform pan. Use the flat bottom of a measuring cup or glass to compact the crumbs tightly, which is crucial for a sturdy, non-crumbly base. Place the pan in the freezer to chill and set for at least 15-20 minutes while you prepare the filling.
- Whip the Heavy Cream. In a large, chilled bowl, pour the 1 ½ cups of very cold heavy whipping cream. Using an electric mixer (handheld or stand mixer with a whisk attachment), beat the cream on medium-high speed until stiff peaks form, about 2-3 minutes. Stiff peaks mean that when you lift the beaters, the cream holds its shape without slumping. Set this bowl aside.
- Create the Cheesecake Base. In a separate large bowl, place the 16 oz of room-temperature block cream cheese, 1 cup of powdered sugar, ¼ cup of full-fat sour cream, 1 tbsp of fresh lemon juice, and 1 tsp of vanilla extract. Beat with the electric mixer on medium speed until the mixture is completely smooth, creamy, and free of lumps, about 2-3 minutes. Scrape down the sides of the bowl as needed to ensure everything is incorporated.
- Fold to Combine. Gently add about one-third of the whipped cream into the cream cheese mixture and fold it in with a rubber spatula until just combined. This lightens the base, making it easier to incorporate the rest. Add the remaining whipped cream and continue to fold gently until no white streaks remain. Be careful not to overmix, as this will deflate the air you just whipped in.
- Fill and Chill to Perfection. Retrieve your chilled crust from the freezer. Scrape the cheesecake filling into the crust and spread it into a smooth, even layer with your spatula. Cover the pan tightly with plastic wrap and refrigerate for a minimum of 6-8 hours, but preferably overnight. This extended, uninterrupted chilling time is absolutely essential for the cheesecake to firm up completely.

Tips for the Perfect Recipe
- Ingredient Quality is King:
- Full-Fat is Non-Negotiable: This deserves repeating. Using low-fat or fat-free cream cheese, sour cream, or heavy cream is the number one cause of a runny cheesecake. The fat content is essential for the chemical structure and rich flavor of the dessert.
- Use Block, Not Tub, Cream Cheese: Spreadable cream cheese from a tub contains more water and stabilizers that make it softer and unsuitable for this recipe. Always use the firm, brick-style cream cheese for a guaranteed set.
- Temperature Matters Most:
- Cold Cream, Warm Cheese: Your heavy cream must be fridge-cold to whip into stable, stiff peaks. Conversely, your cream cheese must be at room temperature to beat into a perfectly smooth, lump-free base. This temperature contrast is the secret to a perfect texture.
- Technique and Patience:
- Don't Rush the Chill: We know it's tempting, but the 6-8 hour (or overnight) chilling time is not a suggestion; it's a requirement. This is when the fats solidify and the filling sets completely. Cutting this time short will result in a soft, messy cheesecake.
- For Clean Slices: To get those beautiful, bakery-style slices, use a large, sharp knife. Dip the knife in hot water and wipe it clean between each and every cut. This melts the fat just enough to glide through without dragging the filling.

The Art of Presentation: Serving Ideas
- Classic Fruit Toppings:
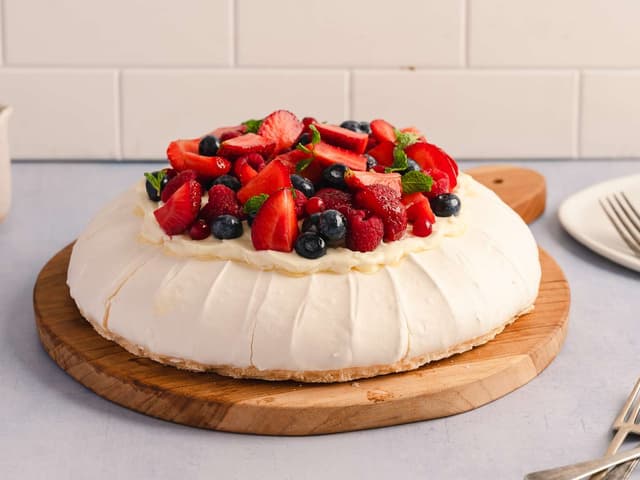
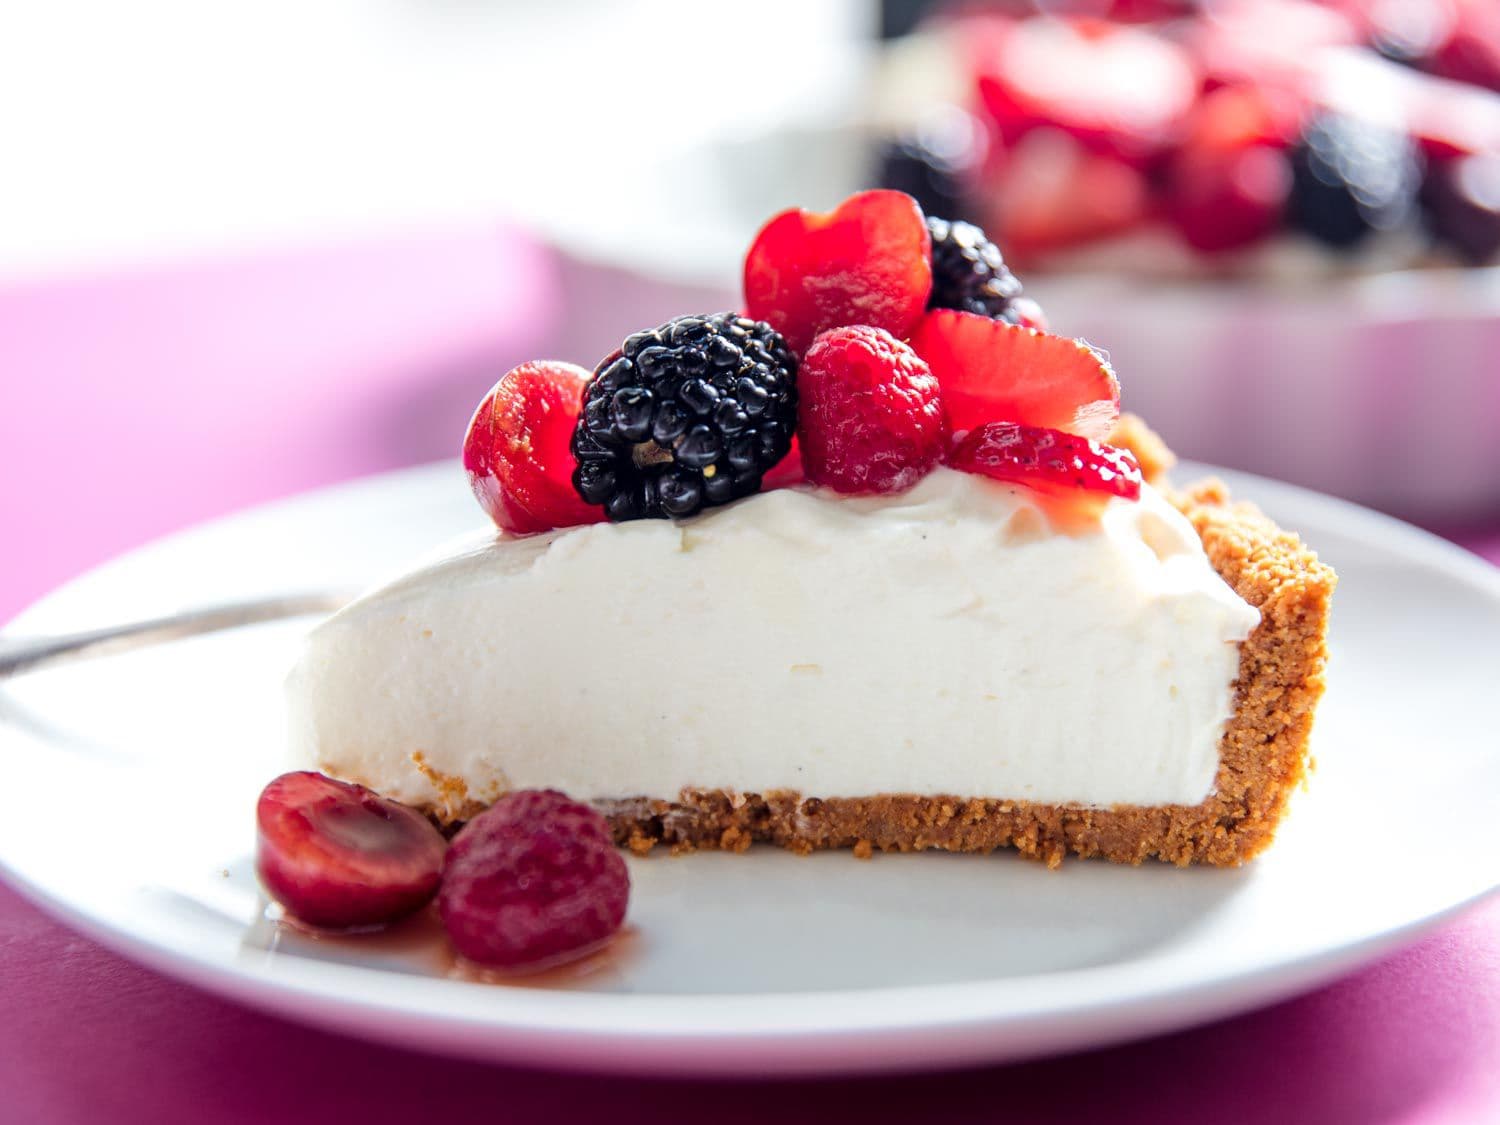
- Fresh Berries: A simple pile of fresh strawberries, blueberries, raspberries, or blackberries provides a beautiful pop of color and a tart contrast to the creamy filling.
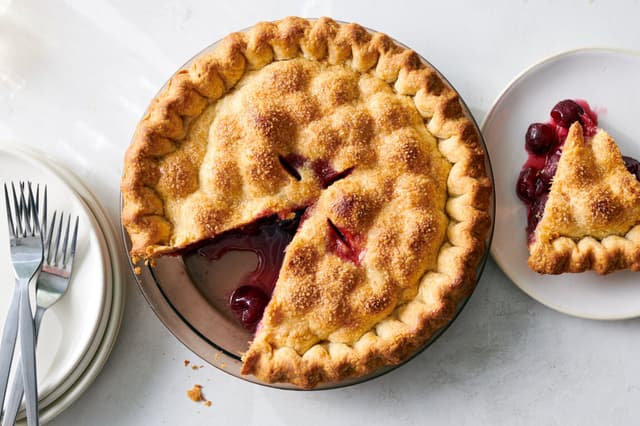
- Canned Pie Filling: For a touch of nostalgia and convenience, top with a classic cherry or strawberry pie filling. It's a retro look that's always a crowd-pleaser.
- Homemade Fruit Sauce: Gently cook down berries with a little sugar and lemon juice to create a vibrant coulis or a thicker compote to drizzle over the top.
- Decadent Drizzles and Sauces:
- Chocolate Ganache: A rich, glossy drizzle of dark chocolate ganache transforms the cheesecake into a truly elegant dessert.
- Salted Caramel Sauce: A homemade or store-bought salted caramel sauce adds a wonderful sweet-and-salty complexity.
- Lemon or Lime Curd: Swirls of tangy lemon or lime curd on top create a beautiful pattern and add an extra layer of bright, citrusy flavor.
- Creative Crunches and Textures:
- Shaved Chocolate or Cookie Crumbles: Sprinkle the top with shaved dark chocolate, crushed Oreo cookies, or Biscoff cookie crumbles for extra flavor and a delightful crunch.
- Toasted Nuts or Pretzels: For a salty contrast, top with toasted pecans, candied nuts, or even crushed pretzels before drizzling with caramel or chocolate.
- Alternative Presentations:
- Cheesecake in a Jar: Layer the graham cracker crumbs, cheesecake filling, and your chosen toppings in individual glass jars or dessert cups for perfect, portable potluck treats.
- Cheesecake Bars: Prepare the recipe in an 8x8 or 9x9 inch square pan instead of a springform pan. Once chilled, cut into neat bars for easy serving.

Tips for Storing and Thawing
Storing Leftovers
- Refrigeration is Key: Your no-bake cheesecake must be stored in the refrigerator. It should not be left at room temperature for more than two hours to remain safe to eat and to maintain its firm texture.
- Cover Tightly: To prevent the cheesecake from drying out or absorbing other odors from the fridge, cover it well. You can use a cake carrier, or wrap the springform pan tightly in a double layer of plastic wrap.
- Toothpick Trick: If your cheesecake has toppings, insert a few toothpicks around the edges to tent the plastic wrap up and away, preventing it from smushing your beautiful decorations.
Thawing & Serving from Frozen
- Freezing for Later: Yes, you can freeze this cheesecake for up to 3 months! For best results, freeze it without toppings. First, place the unwrapped cheesecake in the freezer for about an hour to firm up. Then, wrap it tightly in a layer of plastic wrap followed by a layer of aluminum foil for maximum protection against freezer burn.
- The Proper Thaw: To thaw, transfer the frozen cheesecake (still wrapped) to the refrigerator the night before you plan to serve it. Thawing it slowly in the fridge is crucial to prevent condensation and preserve its creamy texture.
- A Note on Reheating: This is a chilled dessert that relies on cold fats for its structure. Never attempt to reheat or warm a no-bake cheesecake, as it will melt into a "cheesecake soup."
Conclusion
With its luxurious creaminess, impressive-yet-simple preparation, and endless versatility, this no-bake cheesecake is destined to become a staple in your dessert rotation. It’s a foolproof recipe that promises delicious results every time. Go ahead and give it a try—your new favorite dessert awaits!
Frequently Asked Questions
Q: Why is my no-bake cheesecake runny and how can I fix it?
A: A runny filling is almost always caused by using low-fat ingredients (like tub-style or light cream cheese) or heavy cream that wasn't cold enough to whip properly. Always use full-fat, block-style cream cheese and very cold heavy cream for a thick, stable set.
Q: Can I use spreadable tub-style cream cheese instead of the block?
A: No, this is not recommended. Tub-style cream cheese has a higher water content and a softer consistency designed for spreading, not for setting. Using it will almost certainly result in a cheesecake that fails to firm up, so stick to the dense, block-style cream cheese.
Q: My filling is lumpy! What did I do wrong?
A: Lumps in your filling are a tell-tale sign that your cream cheese was too cold when you started mixing. Cold cream cheese doesn't blend smoothly with the sugar and other ingredients. To avoid this, make sure your block of cream cheese sits out at room temperature for about an hour.
Q: What's the real difference between a baked and a no-bake cheesecake?
A: The main difference is the setting agent and texture. Baked cheesecakes use eggs and heat to create a dense, rich, custard-like texture. No-bake cheesecakes, like this one, rely on the chilling of fats and air from whipped cream to set, resulting in a lighter, creamier, mousse-like texture.